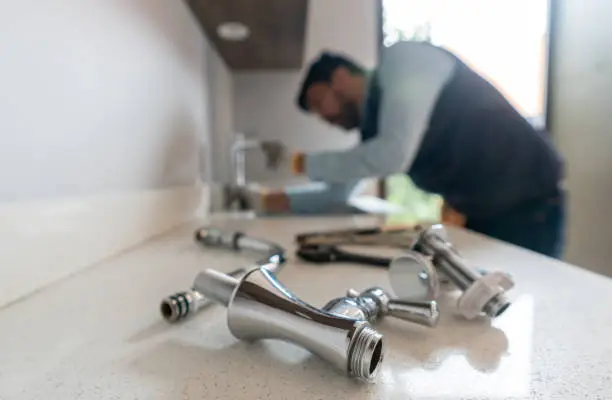
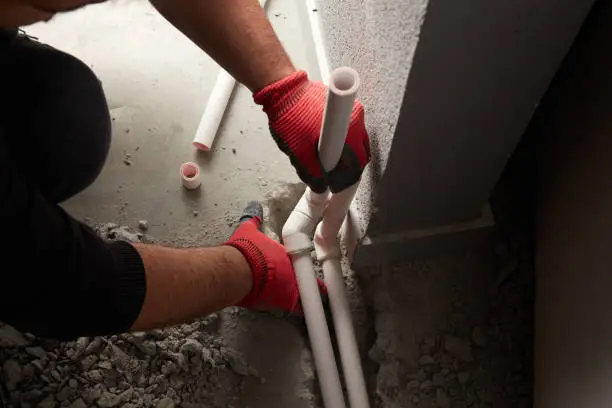
To winterize your house plumbing, you need to drain water from the pipes, insulate exposed plumbing and take steps to prevent freezing. Start by shutting off the main water supply, draining outdoor hoses and adding insulation to exposed pipes. Use antifreeze for specific areas prone to freezing and keep your indoor temperature above 55°F.
This simple process can save you from the costly damage of frozen or burst pipes during winter.
Why Winterizing Your Plumbing Matters
Winter can wreak havoc on your home’s plumbing. When water freezes, it expands, which can cause pipes to crack or burst. This not only leads to water damage but also expensive repairs. By preparing your plumbing for cold weather, you ensure a hassle-free winter and peace of mind.
Step-by-Step Guide to Winterizing Your Plumbing
1. Turn Off the Water Supply
Begin by shutting off the main water supply. This is especially important if you’re leaving your home for an extended period during the winter. The main valve is typically located near the water meter or where the main water line enters your home.
Pro Tip: After turning off the water, open the faucets to drain any remaining water from the pipes. This prevents standing water from freezing.
2. Drain Outdoor Water Lines
Outdoor water fixtures are the most vulnerable to freezing. Disconnect garden hoses, drain them completely, and store them indoors. If you have a sprinkler system, ensure it’s properly drained.
How to Drain Outdoor Faucets:
- Turn off the water supply to the outdoor faucets.
- Open the faucet to let the water drain out.
- Use insulated faucet covers for added protection.
3. Insulate Pipes
Pipes in unheated areas like basements, attics, and crawl spaces are at the highest risk of freezing. Wrap them with pipe insulation, which is affordable and easy to install.
Materials You Can Use:
- Foam pipe insulation sleeves
- Heat tape (for areas with extreme cold)
- Fiberglass insulation
Ensure that every inch of exposed pipe is covered, especially elbows and joints.
4. Add Antifreeze Where Necessary
In areas where draining pipes is not possible, such as toilets or certain traps, you can use non-toxic RV antifreeze. Pour a small amount into toilet bowls and sink traps to prevent freezing.
Note: Use antifreeze specifically designed for plumbing systems. Automotive antifreeze is toxic and should never be used in home plumbing.
5. Seal Gaps and Cracks
Cold air can enter your home through gaps and cracks near windows, doors, and plumbing entry points. Use caulk or weatherstripping to seal these areas.
This step not only protects your plumbing but also improves your home’s energy efficiency.
6. Adjust the Thermostat
Keep your home’s temperature consistent, even if you’re away. Set your thermostat to at least 55°F to prevent indoor pipes from freezing.
If you have smart home devices, consider programming your thermostat to maintain a safe temperature during especially cold nights.
7. Open Cabinet Doors
For plumbing under sinks, open the cabinet doors to allow warm air to circulate around the pipes. This is particularly helpful during extremely cold weather.
Bonus Tip: Place a small portable heater near vulnerable areas for added warmth.
Check: When Did Indoor Plumbing Become Common?
8. Winterize Appliances
If you have appliances like washing machines or dishwashers in unheated areas, ensure they are properly drained. Remove any standing water from hoses or tanks to avoid freezing.
9. Check and Maintain Your Water Heater
A well-functioning water heater is essential in winter. Flush the water heater to remove sediment buildup and ensure it’s running efficiently.
Insulation Tip: Wrap your water heater in a water heater blanket to improve efficiency and prevent heat loss.
10. Test the Sump Pump
If your home has a sump pump, check that it’s working properly. Freezing temperatures can cause sump pump discharge lines to freeze, leading to basement flooding.
Preventive Measure: Insulate the discharge line and ensure it drains far from the foundation.

11. Monitor and Maintain Regularly
Regular maintenance is key to avoiding winter plumbing issues. Inspect pipes periodically during the season, especially after a particularly cold snap.
Special Considerations for Vacant Homes
If you’re leaving your home unoccupied for the winter, additional steps are required:
- Fully drain the plumbing system, including water heaters and appliances.
- Add antifreeze to all traps, including floor drains.
- Shut off the water main and leave faucets open to avoid pressure buildup.
Common Mistakes to Avoid while Winterize a House Plumbing
- Forgetting Outdoor Faucets: Leaving hoses connected or water in outdoor faucets can lead to freezing and damage.
- Ignoring Insulation: Skipping insulation for exposed pipes is a recipe for disaster in cold climates.
- Not Maintaining the Thermostat: Turning the heat off completely can lead to frozen pipes even inside the house.
How Much Does It Cost to Winterize Plumbing?
The cost of winterizing your plumbing depends on the size of your home and the materials used. On average:
- Insulating pipes: $50–$200
- Faucet covers: $10–$20
- Non-toxic antifreeze: $5–$10 per gallon
While these costs are relatively low, they are a fraction of what you’d pay for repairing burst pipes, which can run into thousands of dollars.
Final Thoughts
Winterizing your house plumbing is a straightforward but crucial task to prevent the costly damage caused by frozen pipes. By following the steps above, you’ll ensure your plumbing system remains safe and functional throughout the winter months.
Whether you’re preparing for a harsh winter or just want peace of mind, taking the time to winterize your plumbing is an investment worth making. Stay warm, stay prepared, and enjoy a stress-free winter!

